
1. SITE PREP & HOME PROTECTION
- Review work areas with homeowner
- Floor runner from entry → closet
- Remove new units from your vehicle and stack cardboard neatly
- Use new unit cardboard under runner at closet
- Protect nearby fixtures/furnishings
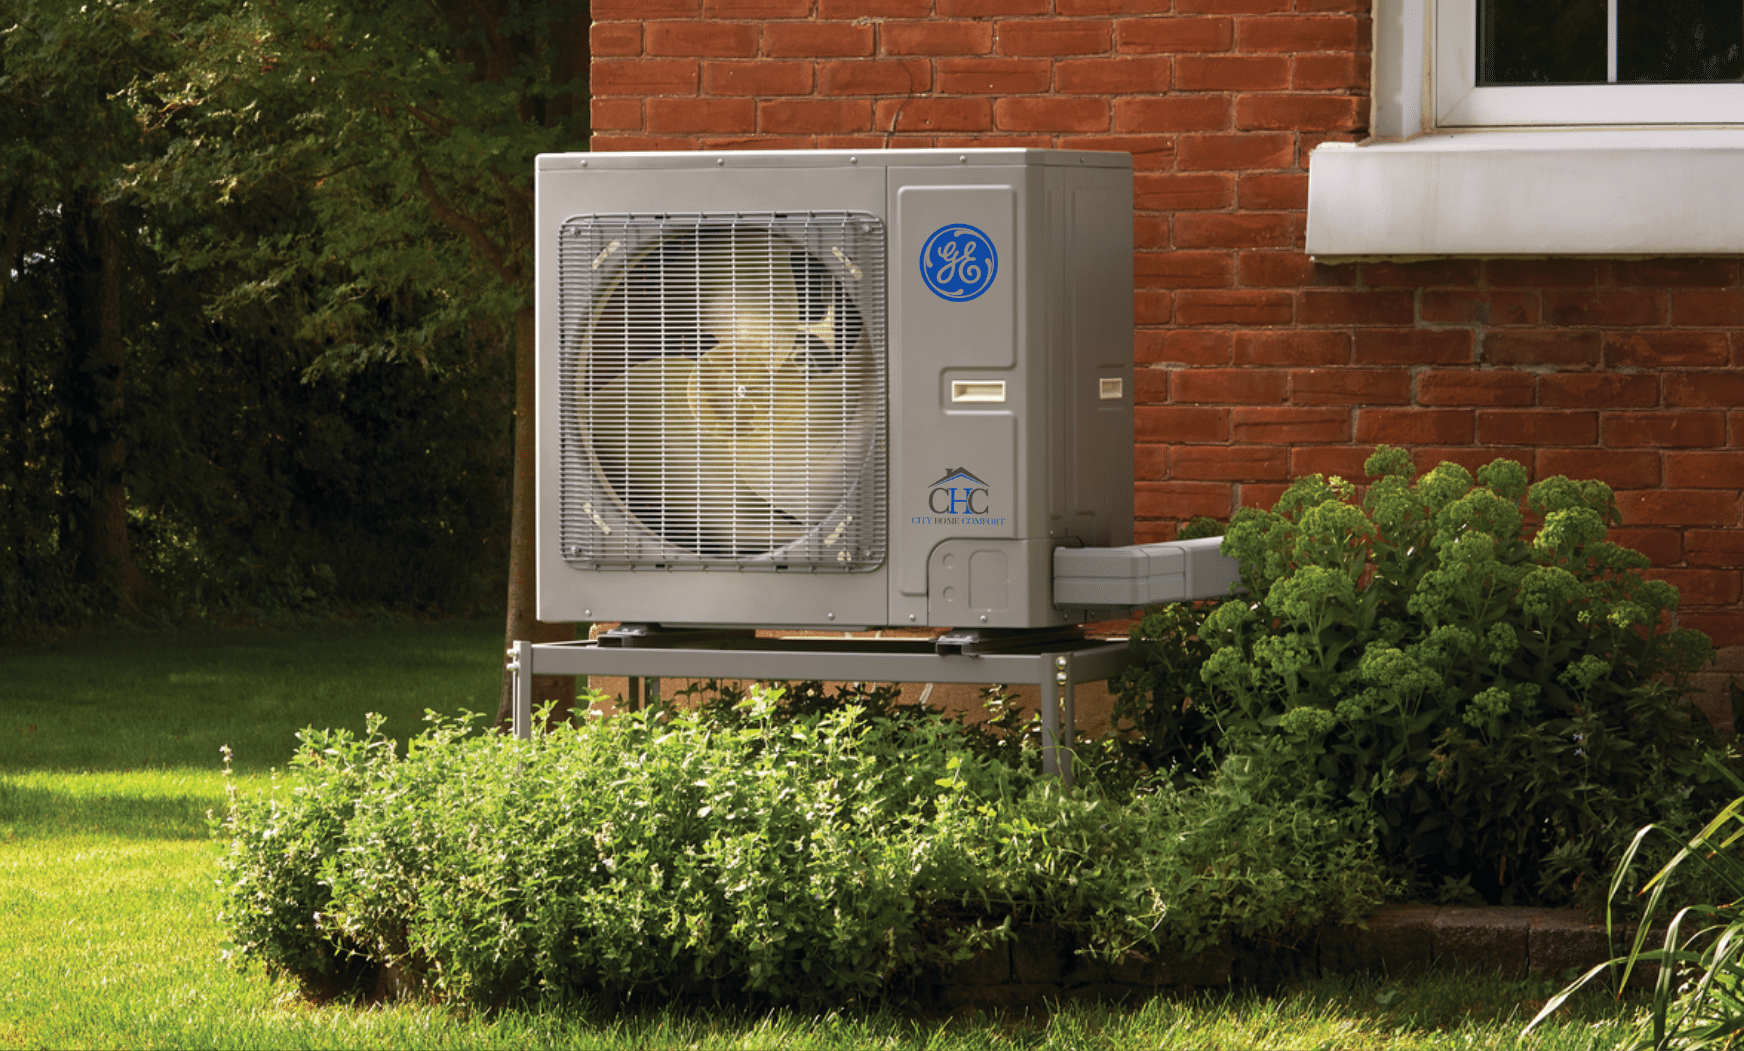
2. OUTDOOR UNIT – REMOVAL & SET
- Pump down condenser (recover if needed)
- Cut copper & electrical
- Remove old pad; re-level ground
- Install new pad, set new condenser and level
- Place old condenser behind vehicle in driveway ON CARDBOARD
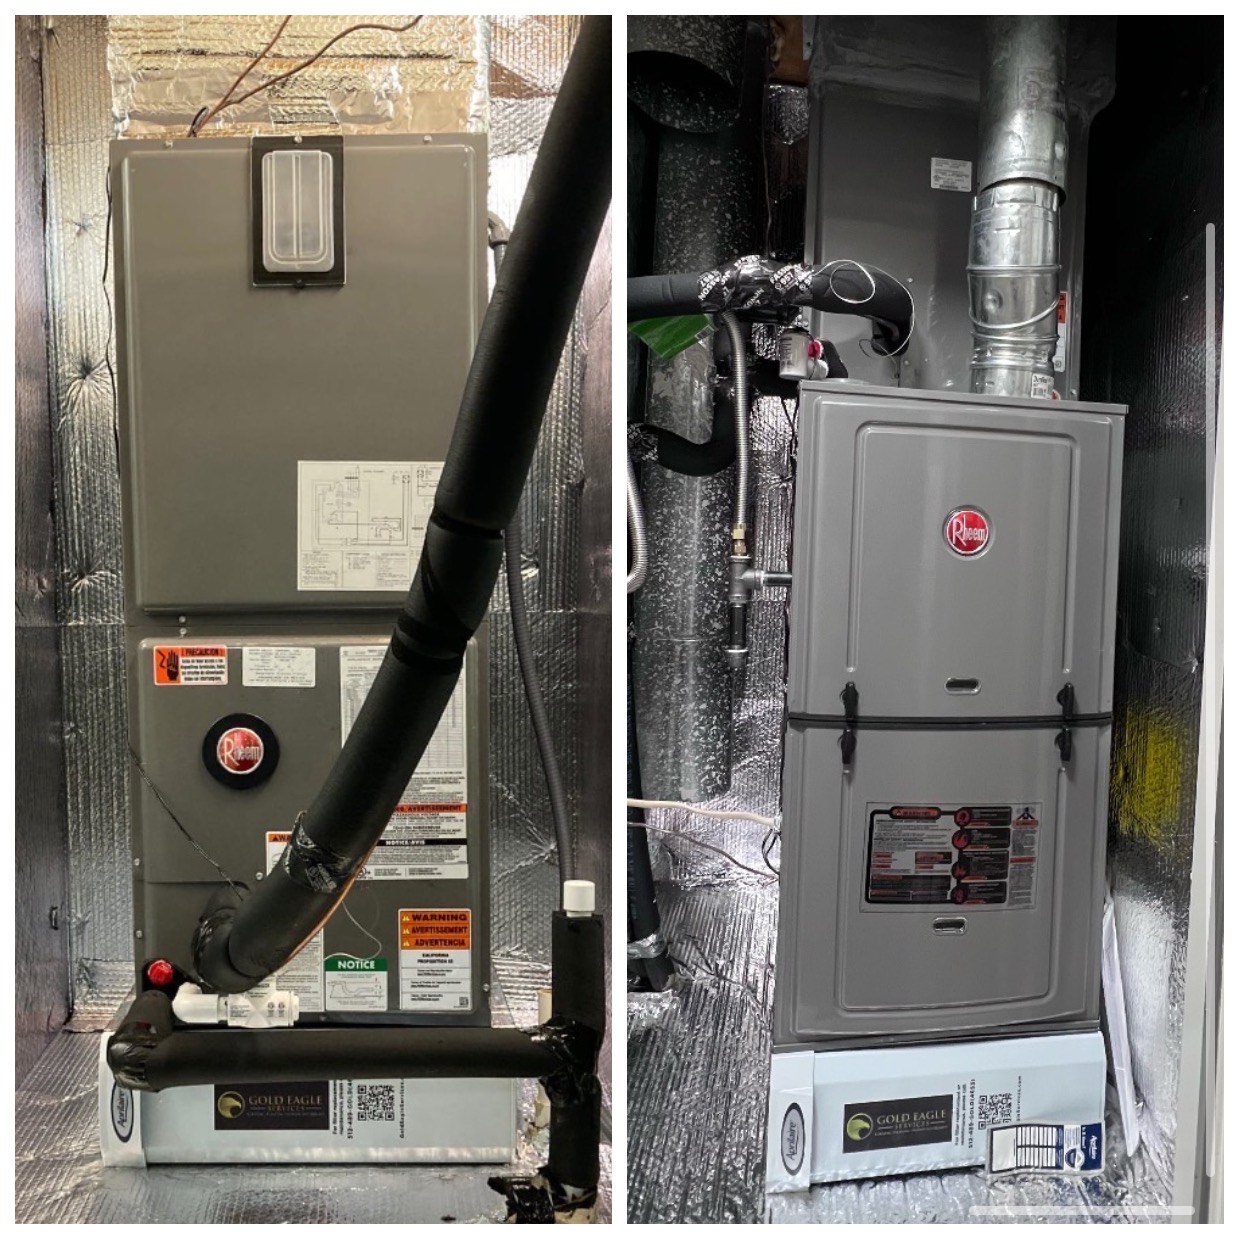
3. INDOOR UNIT – REMOVAL
- Verify dimensions of closet opening with new unit
- Remove old system; stage on cardboard
- Place old system behind vehicle in driveway ON CARDBOARD
- Verify platform/decking integrity
- Verify return opening is correct for new system
4. INTERNAL INSTALLATION (LEAD INSTALLER)
- Replace PVC from below platform
- Reconnect black hose below
- Install silver lining on closet walls
- Install 1×4 under 5” filter rack to elevate above door threshold
- * Before setting air handler – pull blower motor and evaporator coil *
- * Before setting furnace / cased coil – pull blower motor and evaporator coil *
- Build supply transition; leave front open to seal from inside
- Braze indoor coil connections (with nitrogen)
- Install drain with proper pitch, clean-out, and safety switch
- Seal all platform penetrations
- Pull old filter when 5″ filter rack is installed
Inspectable Items for Gas Furnace
- Flue pipe connected (with no screws or tape)
- Combustion air tubing installed and secured
- Gas piping with sediment trap
- Vented door sealed with duct-board
- Gas shutoff accessible
5. OUTDOOR INSTALLATION (SECOND INSTALLER)
- Braze at condenser with nitrogen
- Install disconnect and whip
- Connect low voltage
- Replace line-set insulation as needed
- UV-protect line-set
- Support inside installer as runner
Inspectable
- Line-set insulated and UV protected
- Breaker sized per equipment
- Locking caps installed
6. Install Finalization
- Fill nitrogen to 500 psi for 15 minutes
- Pull vacuum to 400 microns or better
- Shut valves and verify no vacuum rise
- Flush drain with drain solve and water
- Wash hands before thermostat install
- Use customer wifi and direct to download app
- Load old equipment
- Clean all work areas
7. COMMISSIONING & FINAL CHECKS
- * For Gas Furnace in summer – use jumper to turn on burners before turning on cool (R-W) *
- Open refrigerant and set charge
- Verify superheat / subcooling
- Confirm blower tap settings
- Record static pressure
- Verify temperature split
- Test float switches
- Clean equipment surfaces
- Walk homeowner through system
INSTALLER ACCOUNTABILITY
Jobs are not considered complete until these items are done
Lead installer must complete the Workiz Installation Checklist
All required photos and notes must be uploaded before job close-out
Customer payment is required at completion, unless the job is tagged as Finance in Workiz