
VERIFY APPROVED SCOPE OF WORK ON INVOICE BEFORE DOING ANY DEMOLITION
SITE PREP & HOME PROTECTION
- Enter home respectfully and review work areas with homeowner
- Lay floor protection from entry to attic access
- Lay plastic sheets under all supply and return buckets
- Protect furnishings and fixtures as needed
* When job scope requires removal of supply grilles, apply green painter’s tape over drywall buckets to prevent debris from entering the home *
ATTIC – DEMO PHASE
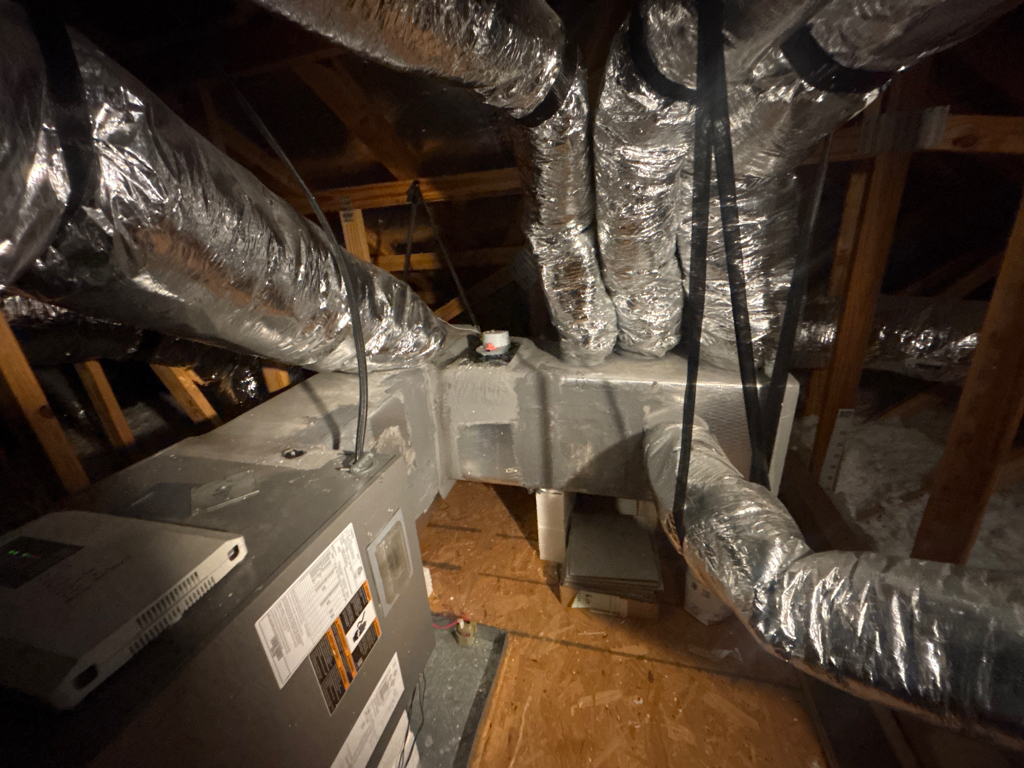
- Remove ductwork, connectors, buckets, plenums, and collars per scope
- Double-bag all fiberglass/porous debris before bringing it out of attic
- Place all trash behind vehicle in driveway ON PLASTIC
PLENUM & COLLAR INSTALLATION
METAL PLENUM
- All seams mechanically fastened before sealing
- Insulate plenum outside before bringing it into the attic
- Plenum must be square, level, and fully supported (not hanging on the unit)
- Cut collar holes clean and correctly sized
- Install collars tight to plenum with mastic and screws
- All dampers must be installed blade lined up with the airflow (no scoop)
- Seal all seams, corners, and joints with mastic
- Seal collar-to-plenum connections fully
- Reinforce mastic with approved foil tape after curing
- Dampers accessible and adjustable after installation
DUCT-BOARD PLENUM
- Cut ductboard square and to proper dimensions
- Assemble plenum with correct fold and closure method
- Plenum must be level and independently supported
- Cut collar openings clean and precise
- Insert collar fully and flush with duct-board surface with tabs
- Seal collar-to-ductboard connections completely
- All dampers must be installed blade lined up with the airflow (no scoop)
- Seal all duct-board seams with mastic
- Dampers accessible and adjustable after installation
BUCKET REPLACEMENT
- Verify bucket size matches grille and airflow design
- Bucket must fit snugly in drywall opening
- If enlarging drywall opening:
- Lay plastic sheeting below opening
- Helper must be positioned below with a box to catch dust
- Apply thin bead of spray foam or thick bead of mastic between bucket and drywall
- Hold bucket from attic while helper installs and aligns grille from below
- Ensure grille sits flat and centered
*Do not use silicon on grille/drywall connection*
DUCT INSTALLATION
- Run new flex duct per Manual D
- Avoid sharp bends, compression, and excess length
- Strap and space ductwork to prevent sagging per best practice
SYSTEM COMMISSIONING & FINAL CHECKS
- Verify airflow at each register
- Adjust dampers as needed
- Check static pressure (target within manufacturer tolerance)
- Verify system operation:
- Heating and cooling performance
- Temperature split
- Air delivery (CFM intent)
- Document final readings
- Walk homeowner through completed work and improvements
INSTALLER ACCOUNTABILITY
- Only perform work included in the approved scope
- Photos, notes, and readings must be documented in Workiz
- Job is not complete until commissioning and homeowner walkthrough are finished